Finn’s First Birthday Party

My thoughts about planning “second kid” birthdays
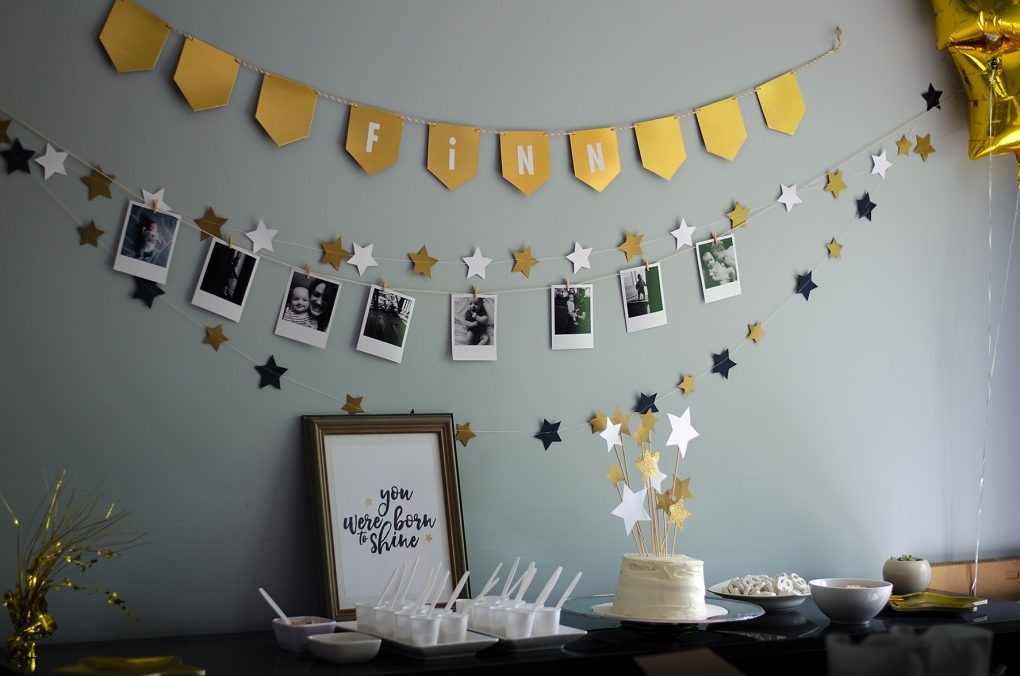
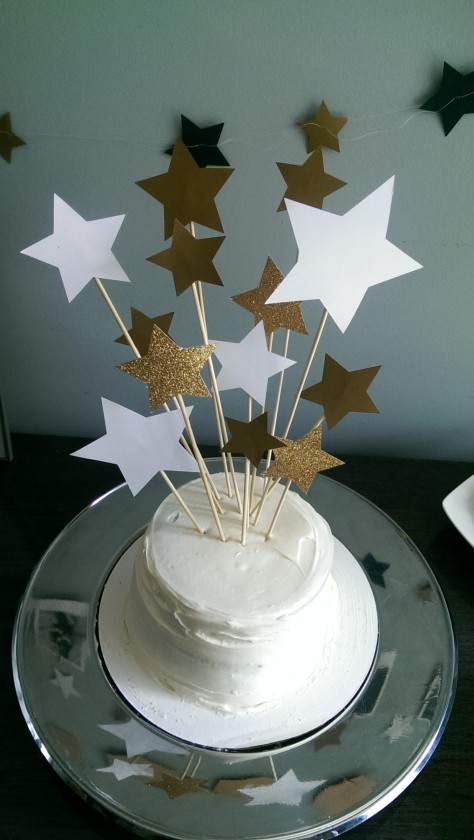
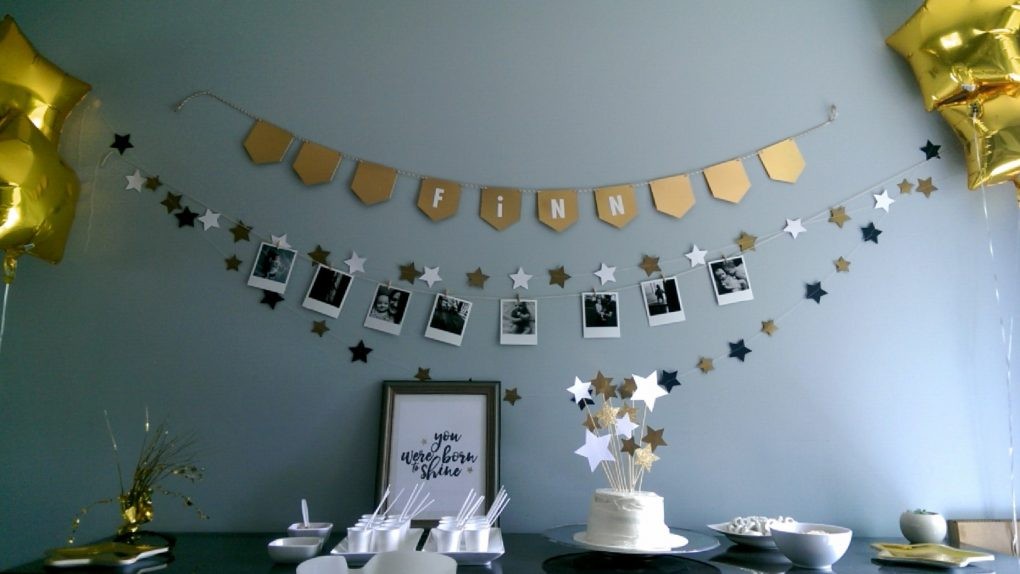
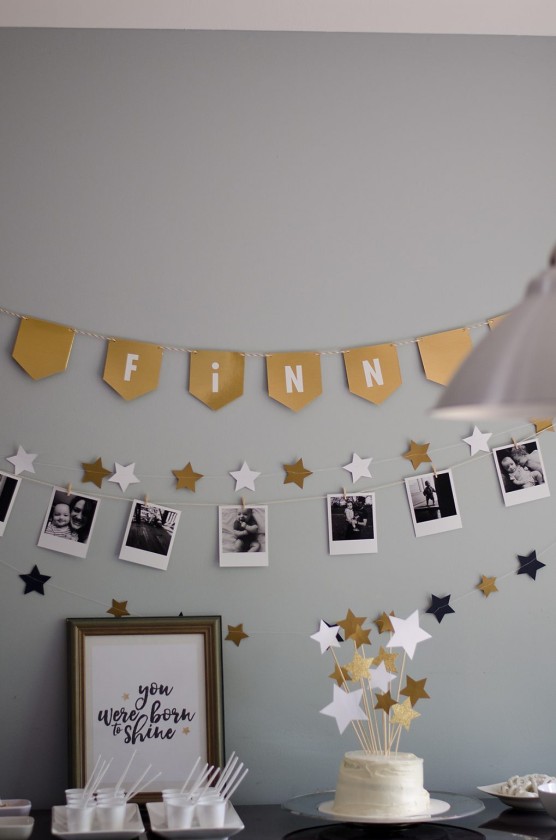
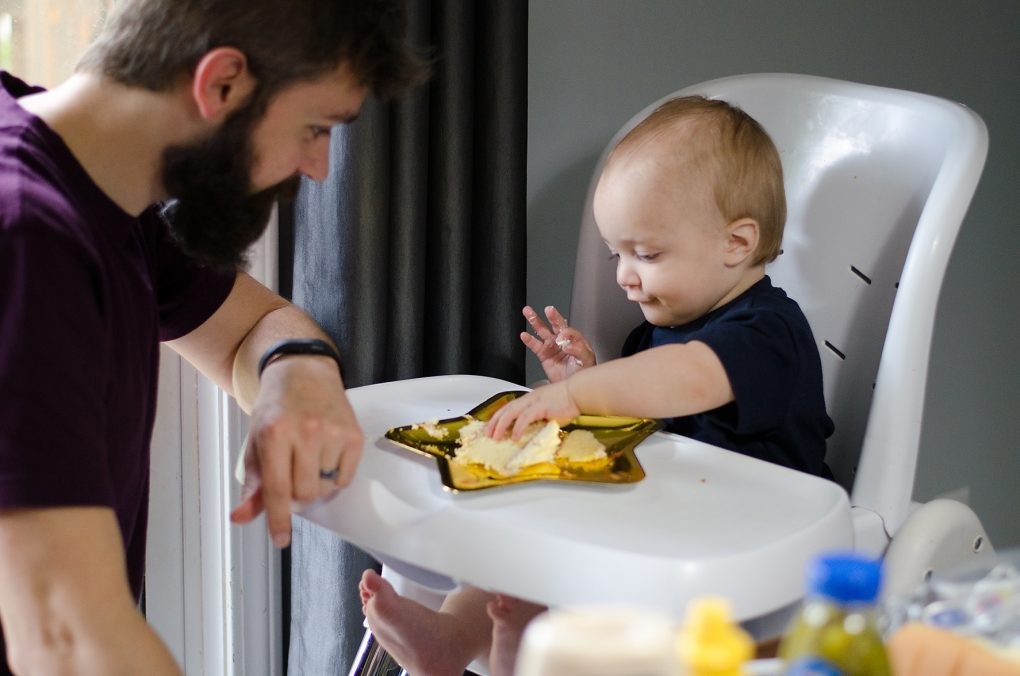
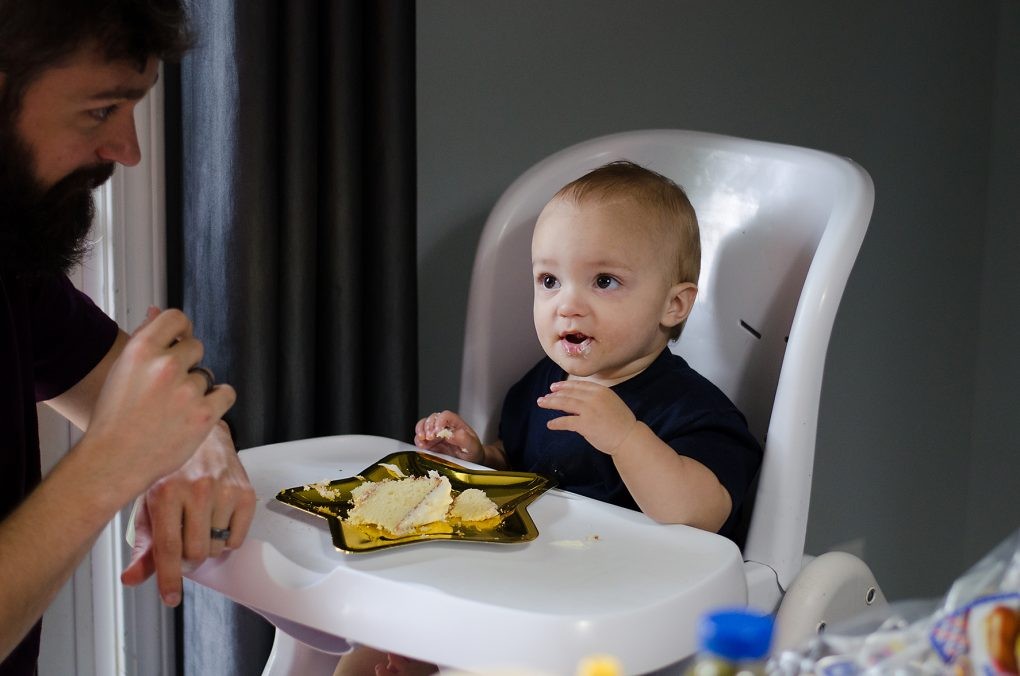
Planning birthday parties for your second child can be challenging. I sat trying to think of what theme we should use for Finn’s first and was at a loss. I’d already done robots, dinosaurs, and monsters for Miles’ parties and Finn was too young to really have any preferences. So what did I do? I went to Pinterest. There I found a cute cake that inspired me to do gold stars. It wasn’t much of a theme but I loved the colors and the simplicity of the picture in my mind, so I went with it. I focused my efforts on a few custom details like a custom t-shirt for the birthday boy, a simple cake with glittery gold star skewers, a banner with photos, and a few gold star balloons from Dollar Tree.
I’m so very happy with how this party turned out. In the past I have spent weeks prepping parties, wasting money buying craft supplies for every little detail only to spend the day running around like a crazy person and barely registering the whole party. All this left me with a mess to clean up after a few hours of fun and a few cute pictures and not too much more. I also had to admit to myself is that it was likely I would appreciate the details more than most of the party guests would. I absolutely love crafting and party planning, but with two kids now and a part-time business I don’t have a ton of spare time (or money).
My goal with this party was to keep it simple, visually appealing to my minimalist style, and affordable. Instead of having a huge list of crazy themed snacks to make or favors to craft, I chose a few details on which to focus my energy. In the end I loved how everything looked, I was able to actually sit and converse with our guests, and I felt like the amount of work was worth it, just the right balance. Hopefully I can keep up this trend for future parties. Miles wants sharks this year, so we’ll see when September comes.


Details about the Details
Here are some of my favorite details and a short run-down of how I did them
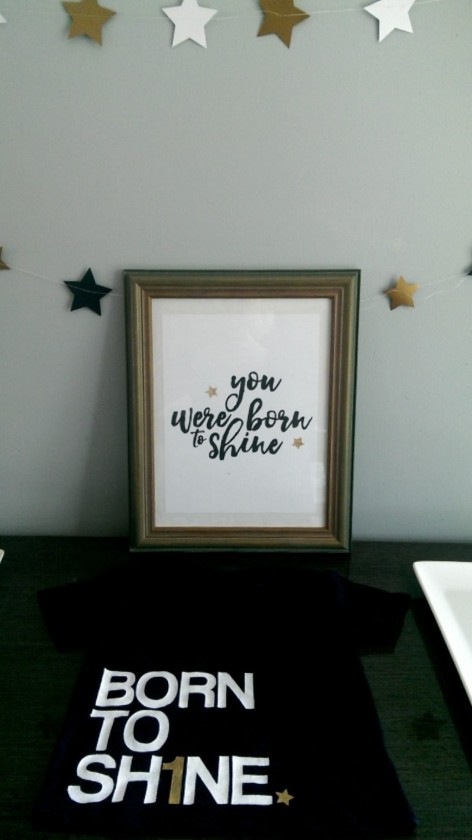
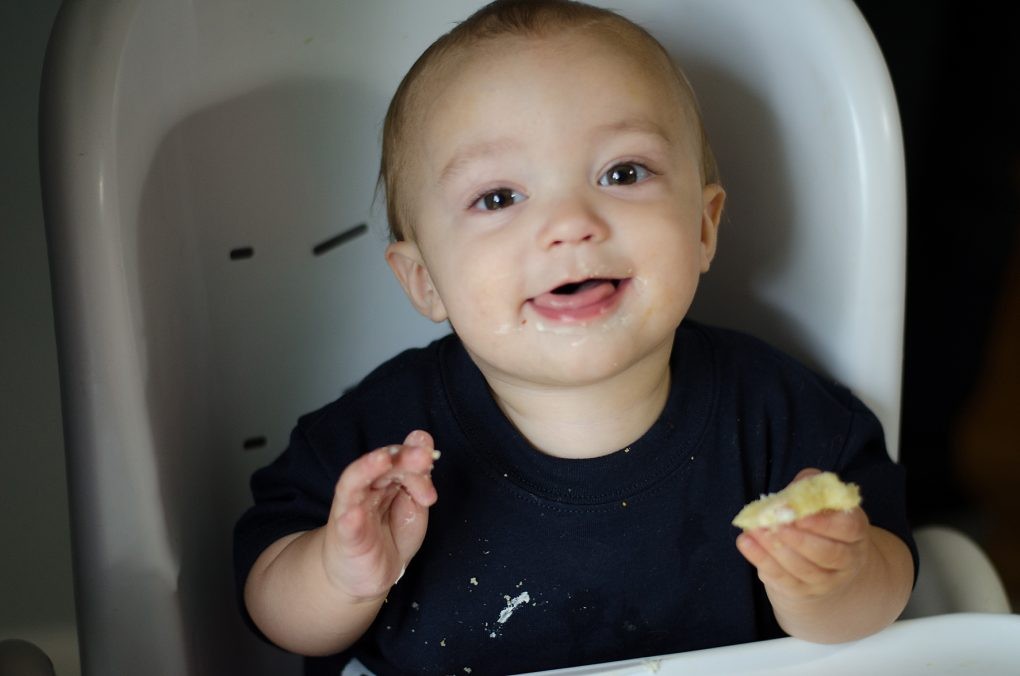
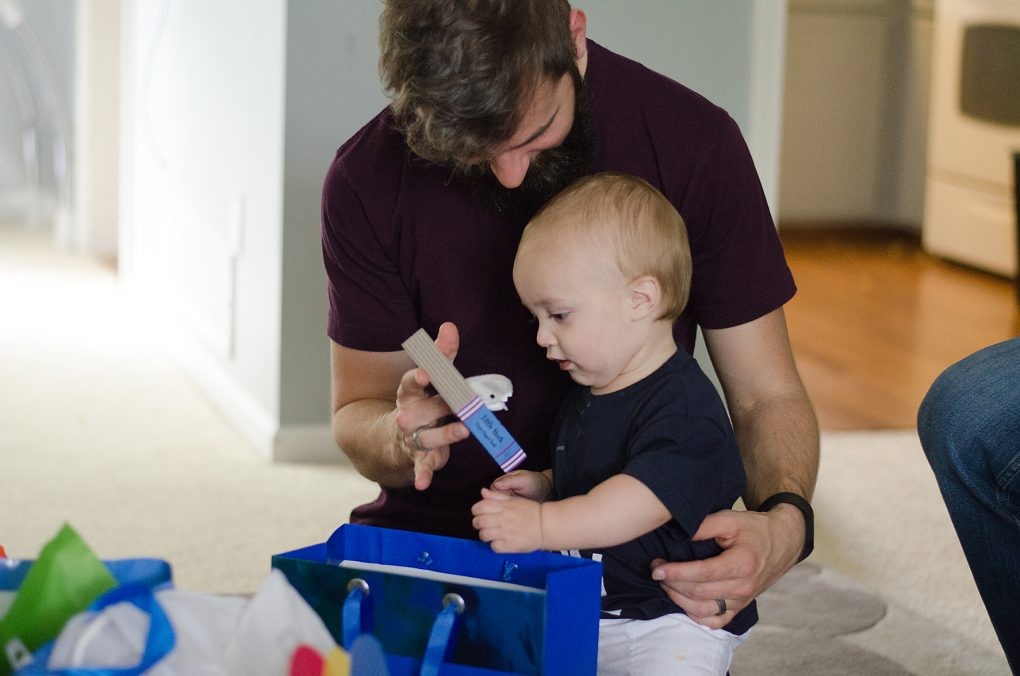
My favorite detail was the custom t-shirt that I made for Finn. I used my new Silhouette Cameo to cut a freezer paper stencil that I designed and painted the words with this white screen printing ink. I used fabric ink (took 2-3 coats) for the gold star and the number “one” (using a 1 for the letter “i” was Steven’s idea and it’s my favorite part!). This type of ink requires heat setting but I finished it at the last minute and skipped that part until after the party. If you’re interested in using this design for yourself you can purchase the cutting file on my Etsy store.
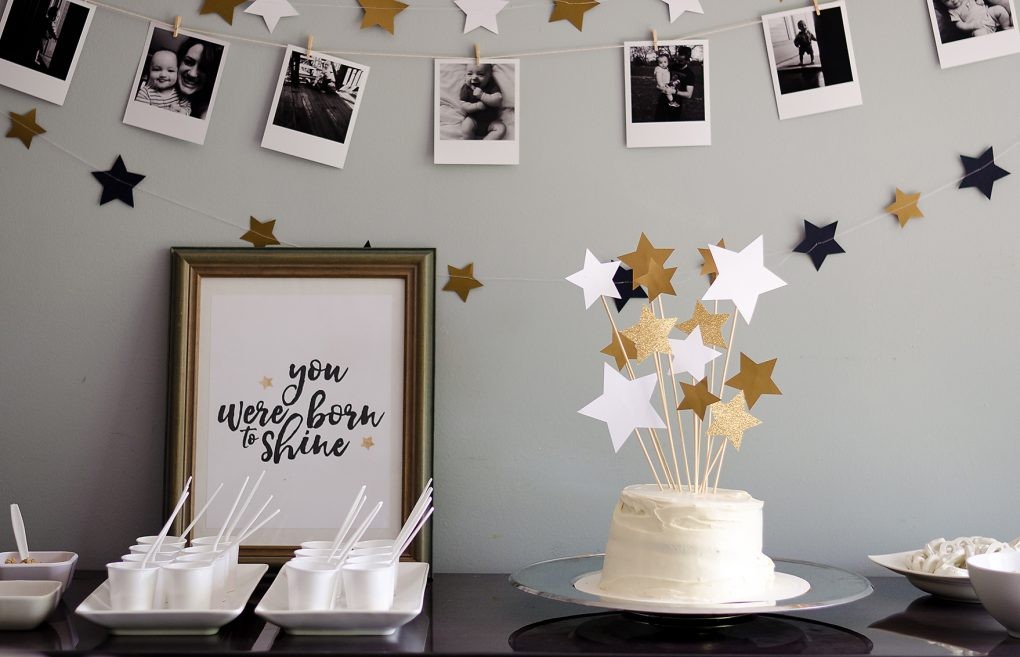
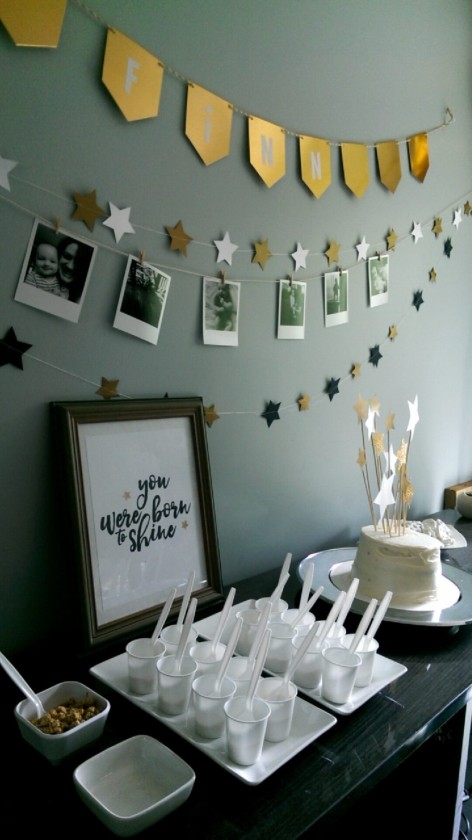
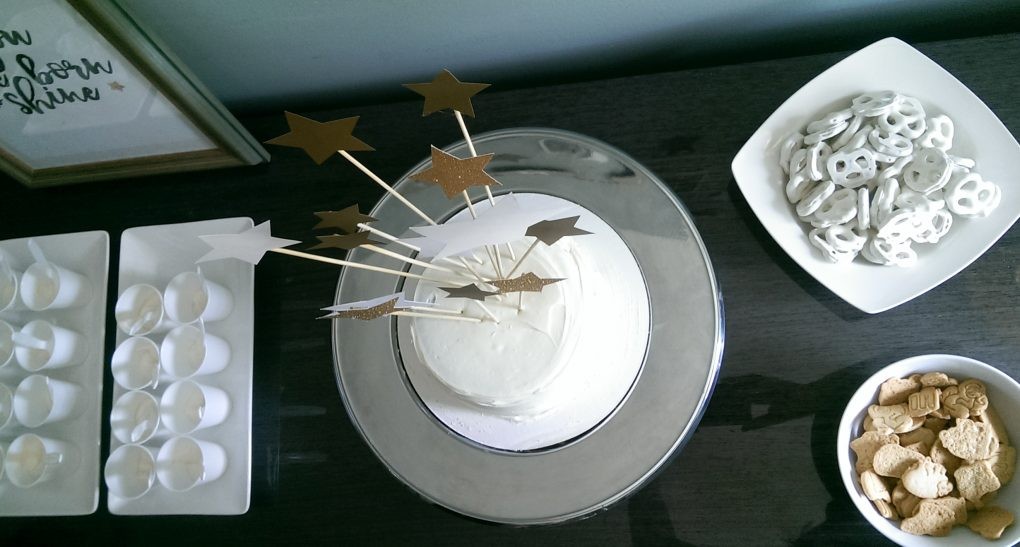
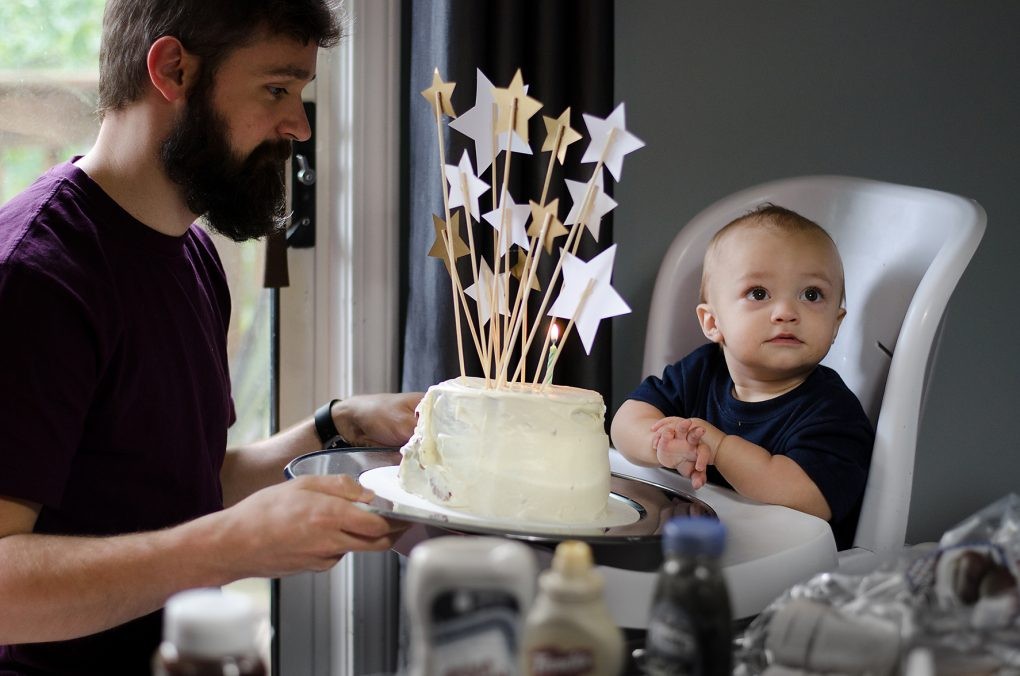
I used my Silhouette machine to cut out navy and gold stars from craft paper (Hobby Lobby) as well as simple white cardstock I already had on hand. I used the star shapes and my sewing machine to whip up a few garlands to hang above the cake. I used miniature clothespins to clip favorite photos of Finn from the past year onto a string of twine along with them.I used cutout gold stars glued to kebab skewers and stuck them in a very simply and messily iced cake.
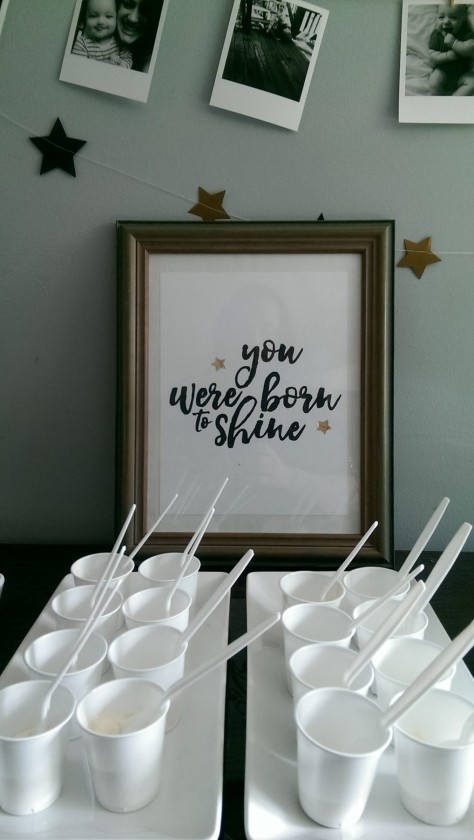
Using my Silhouette again (I got it for Christmas and hadn’t found a chance to use it, then in one week I am like BAM!) I modified a sharpie marker to fit the plotter on the machine and had it sketch the outline of the words for my poster design on cardstock. Then I took the sharpie and filled in the outlines myself. It was surprisingly easy and I was very pleased with how the experiment turned out. If I were to do it over again I would choose a font that wasn’t as wavy on the edges because it looks a little more messy than I would prefer.
In case you’re reading this and own a Silhouette and planning to try this Sharpie hack I’ll tell you how I did it and give you a couple tips: I researched this hack all over Google and Pinterest and found several tutorials for building your own holder or taking apart old pens, etc… Well, I didn’t have the time for that (I’m a procrastinator who tackled this the night before the party) plus I didn’t have any old pens or the time to go get any supplies I didn’t already own. So I whipped up a temporary solution. I took electrical tape that I had on hand and carefully wrapped it around the base of the marker just above the tip. It’s a miracle it worked because I just eyed the distance and prayed it would work. I made sure that I had cardstock under the marker when I inserted it into the machine just to be safe because I didn’t want permanent marker scribbles or dots on my brand new machine. I then sent the design through using the sketch pen settings and waiting anxiously to see if it worked. It did! There were a few spots where the marker didn’t press down quite enough and left gaps in the outline. I just filled them in by hand after the fact. I also had to modify the tape on the marker afterwards so that the lid would fit back over the marker. I’m excited to try this trick with one of the metallic sharpies sometime or other pens/pencils!
For the snacks I mainly just chose some things that fit my colors to put on the table with the cake. We had chicken wings and hot dogs on the table nearby along with chips and other snacks. Here are some of the “themed” snacks I did for the desssert buffet: I made little corn bites using blue corn bowls since they reminded me of navy stars. I had bowl with yogurt covered pretzels and animal crackers. I filled tiny cups with my favorite honey vanilla yogurt and set out a bowl of blueberries and some granola for toppings.